Our Roller Coaster Project Used to Be Ugly. Then My Students Started Designing It Virtually First.
A STEM teacher explains how designing roller coasters in Qweebi's online makerspace first fixed years of messy physical builds — unit flow, assessment, and honest advice on space and budget.
The first year I ran a roller coaster build in my STEM classes, it was ugly. It did not go well. My students wanted these big, extensive builds — and they didn’t understand why none of it worked. They’d start their track low and expect the car to climb a hill. They’d put in a loop with the track sitting way too low right before it. I remember standing there thinking: what is going through that head right now that makes you believe going down a hill that small will get you enough momentum?
The problem wasn’t effort. It was that they didn’t have the science yet — and a short video wasn’t going to get them there. When a video plays, half the class checks out. I needed a way for them to figure out for themselves that the energy at the start has to be greater than everything the car has to get over. That’s what changed when we added a virtual design phase before the physical build.
My classroom, for context
I created the STEM program at my school from scratch, laying it out around different types of engineering. I see each class twice a week, and my weeks are split into tech days and build days. I also run a high-ability learners group that enters a Rube Goldberg competition every year.
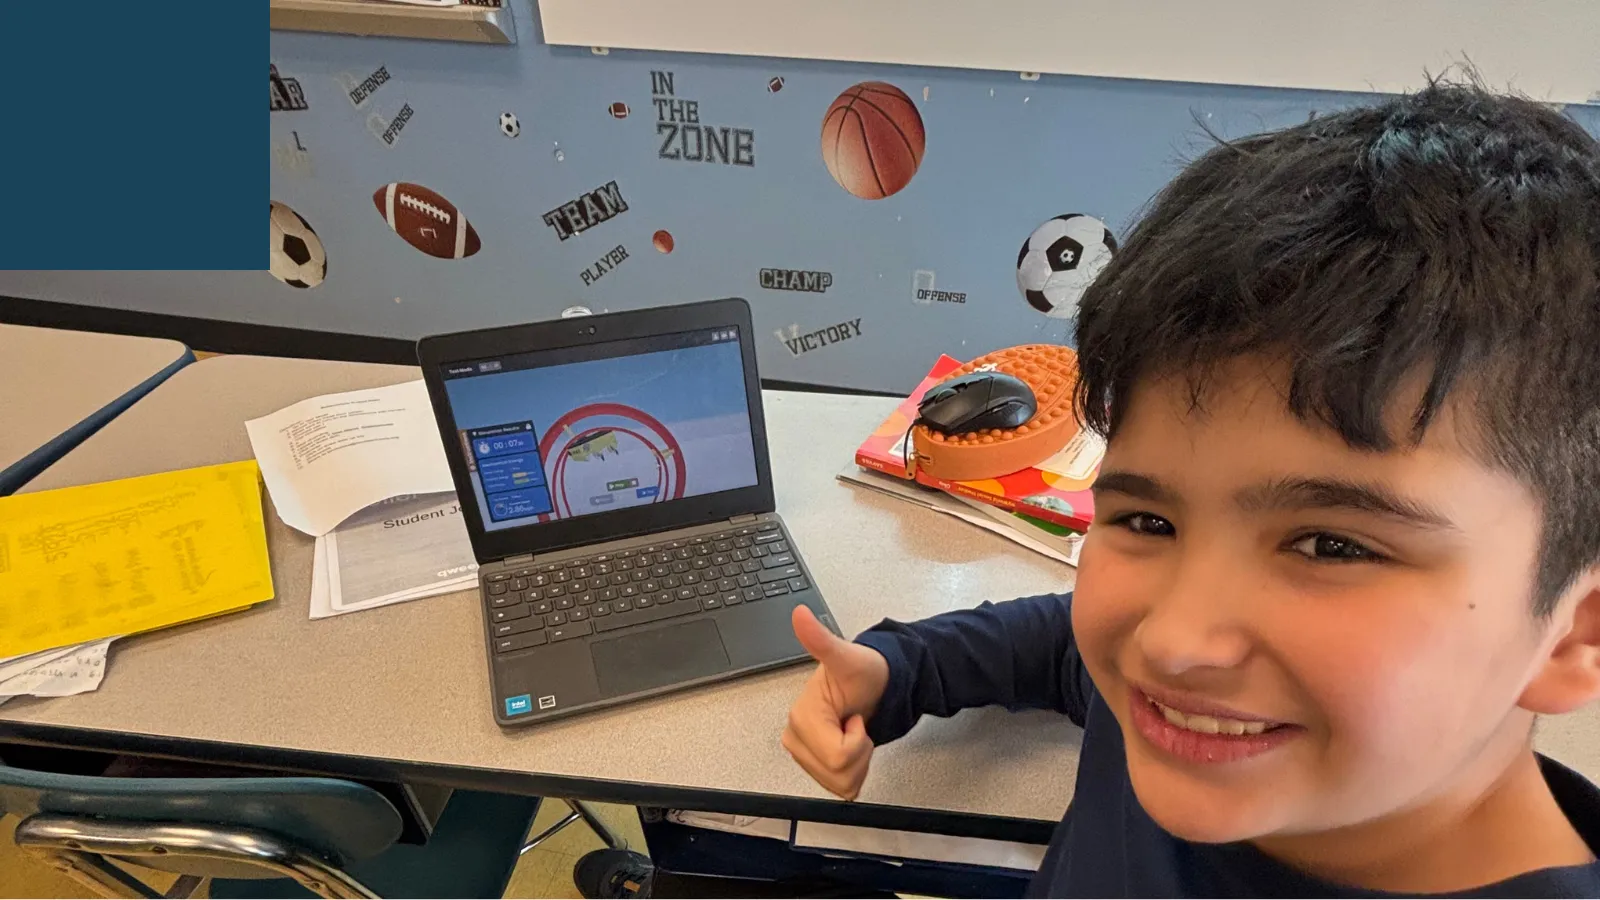
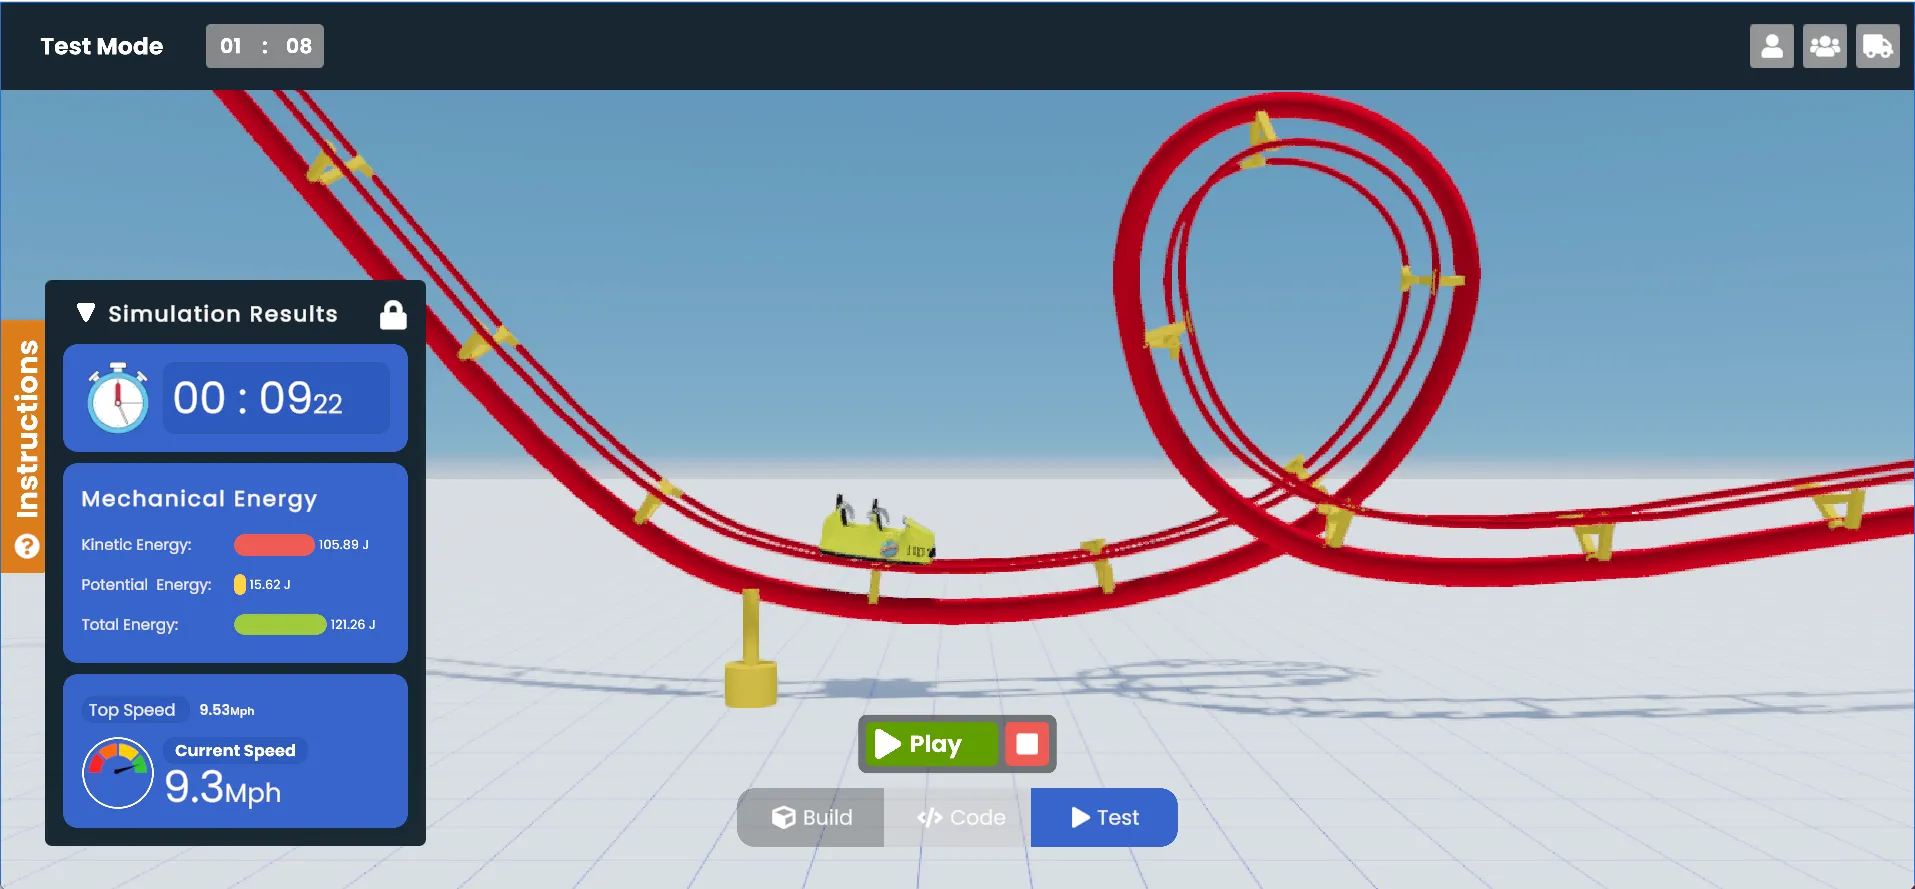 Stage three is the loop — and the class competition to see whose ride lasts longest.
The misconception the virtual build fixed
Here’s my favorite example of why the virtual-first phase works. In my students’ brains, a roller coaster starts flat — because they’ve been on one, and that’s what it feels like. There’s always that part where the crane-lift pulls you up, so they assumed that’s just how coasters work. I kept telling them: that lift is only there so you can get on. It has nothing to do with the actual physics of the ride.
Telling them didn’t work. Building in Qweebi did. To get their virtual car through the course, they had to start at the top. They had to make the first hill taller than everything after it. Potential energy stopped being a vocabulary word and became the thing standing between them and a working ride. By the time we got out the physical materials, nobody was starting their track flat anymore.
How the unit actually flows
The roller coaster unit runs about two weeks — four class periods, alternating tech day and build day:
-
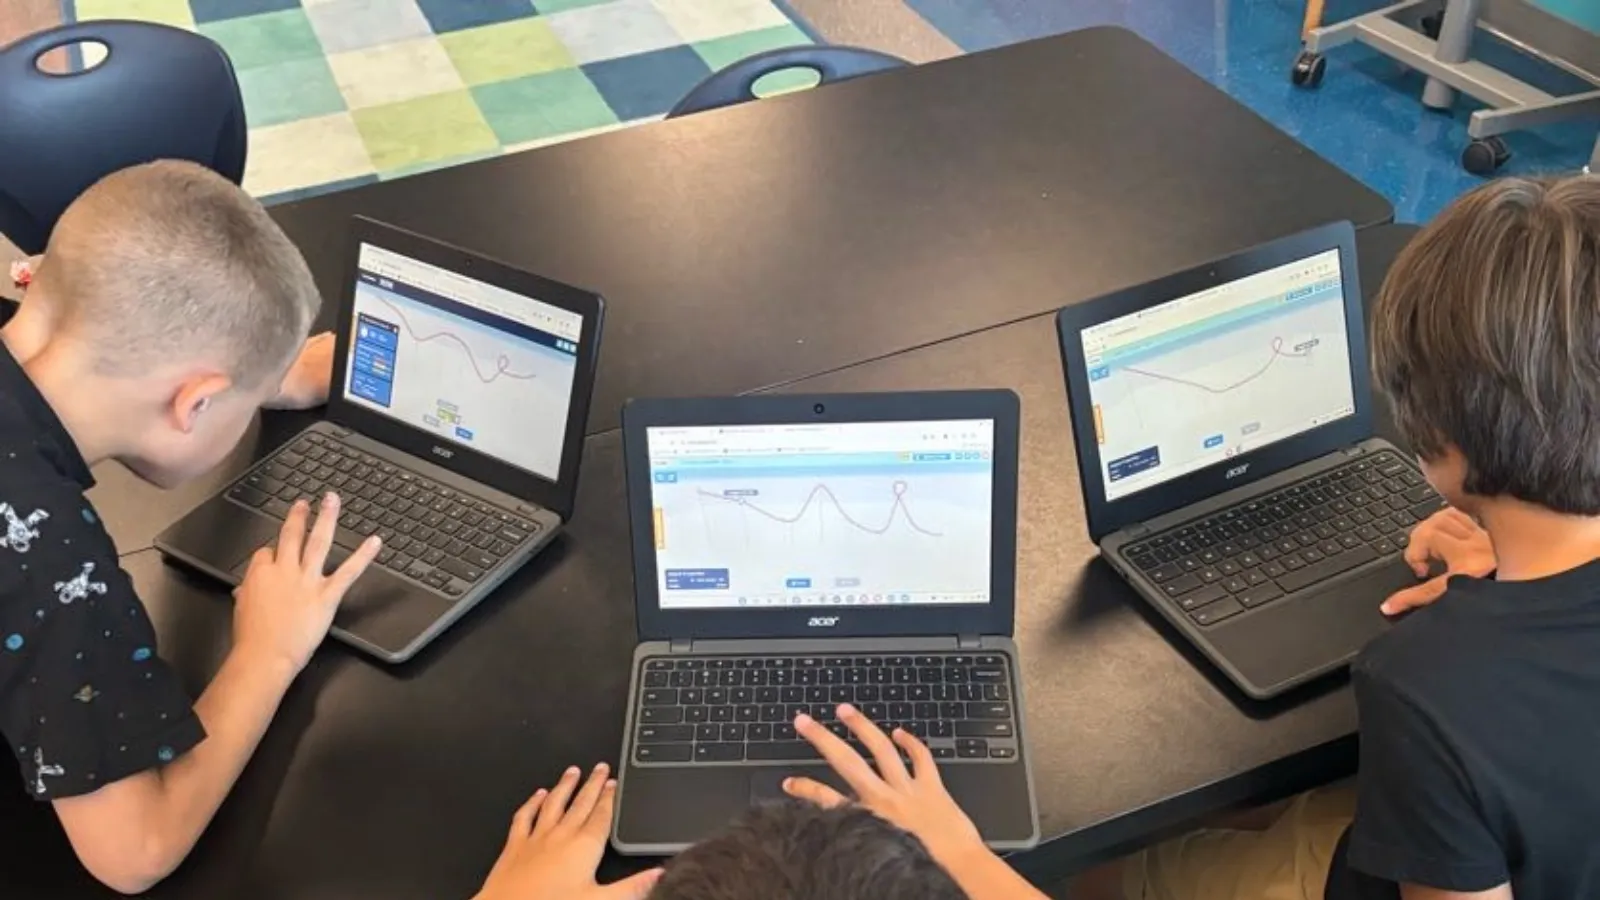
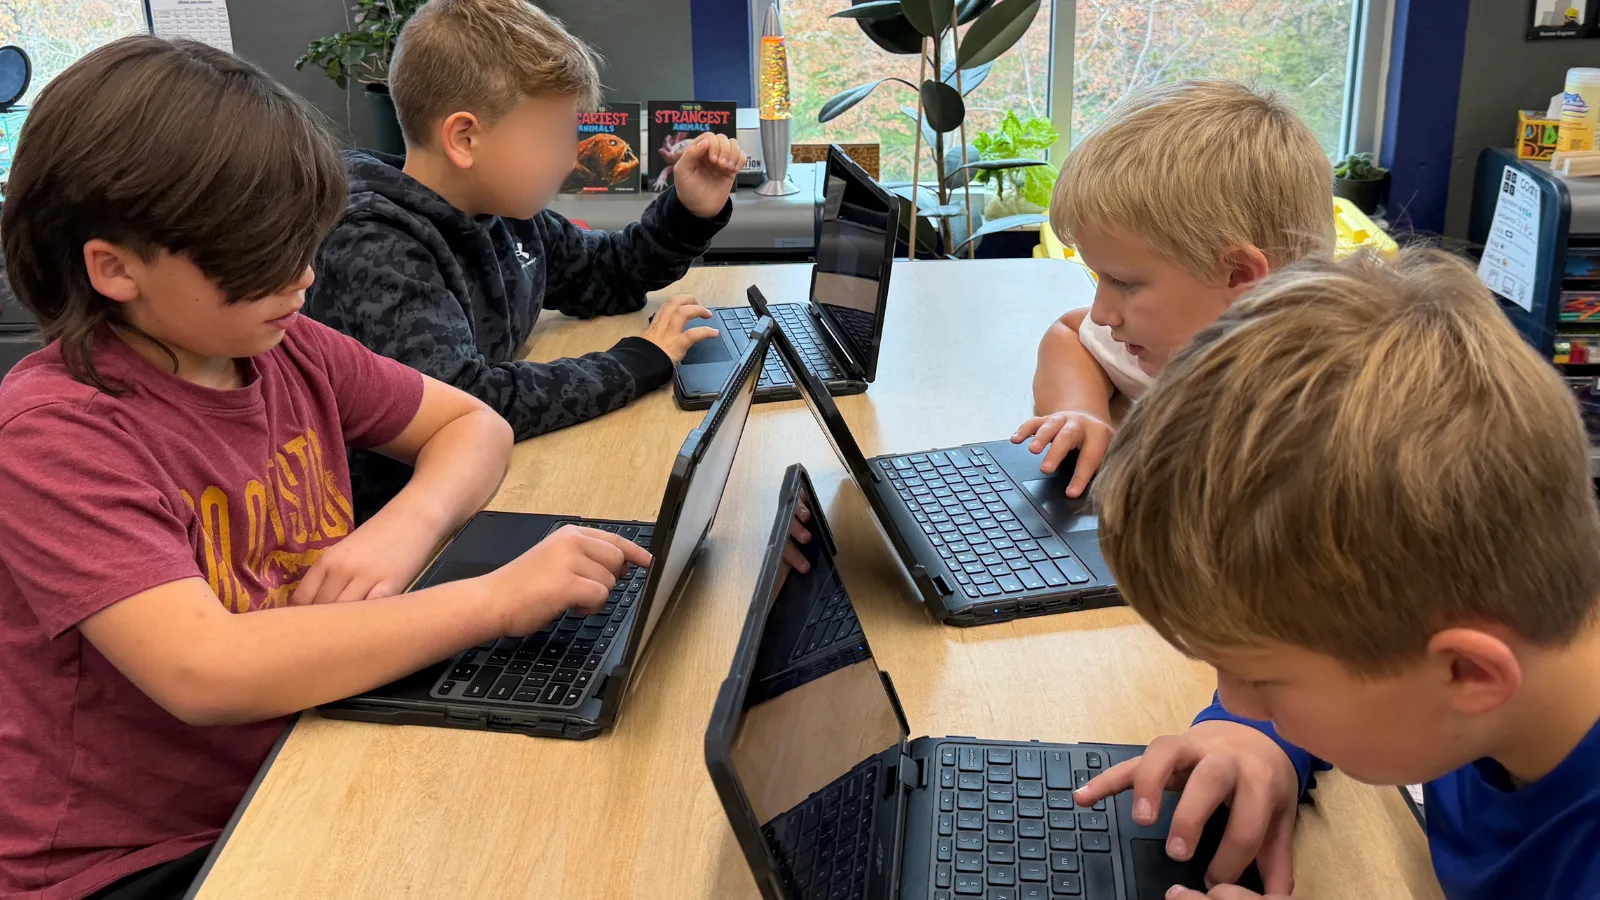
Tech days (2–3 periods in Qweebi): we go through the slides and the science together, watch the videos that come with the project, and students work through the stages — stage one is just getting the car from here to there, and stage three is the loop. This year’s group flew through the first two stages on day one.
-
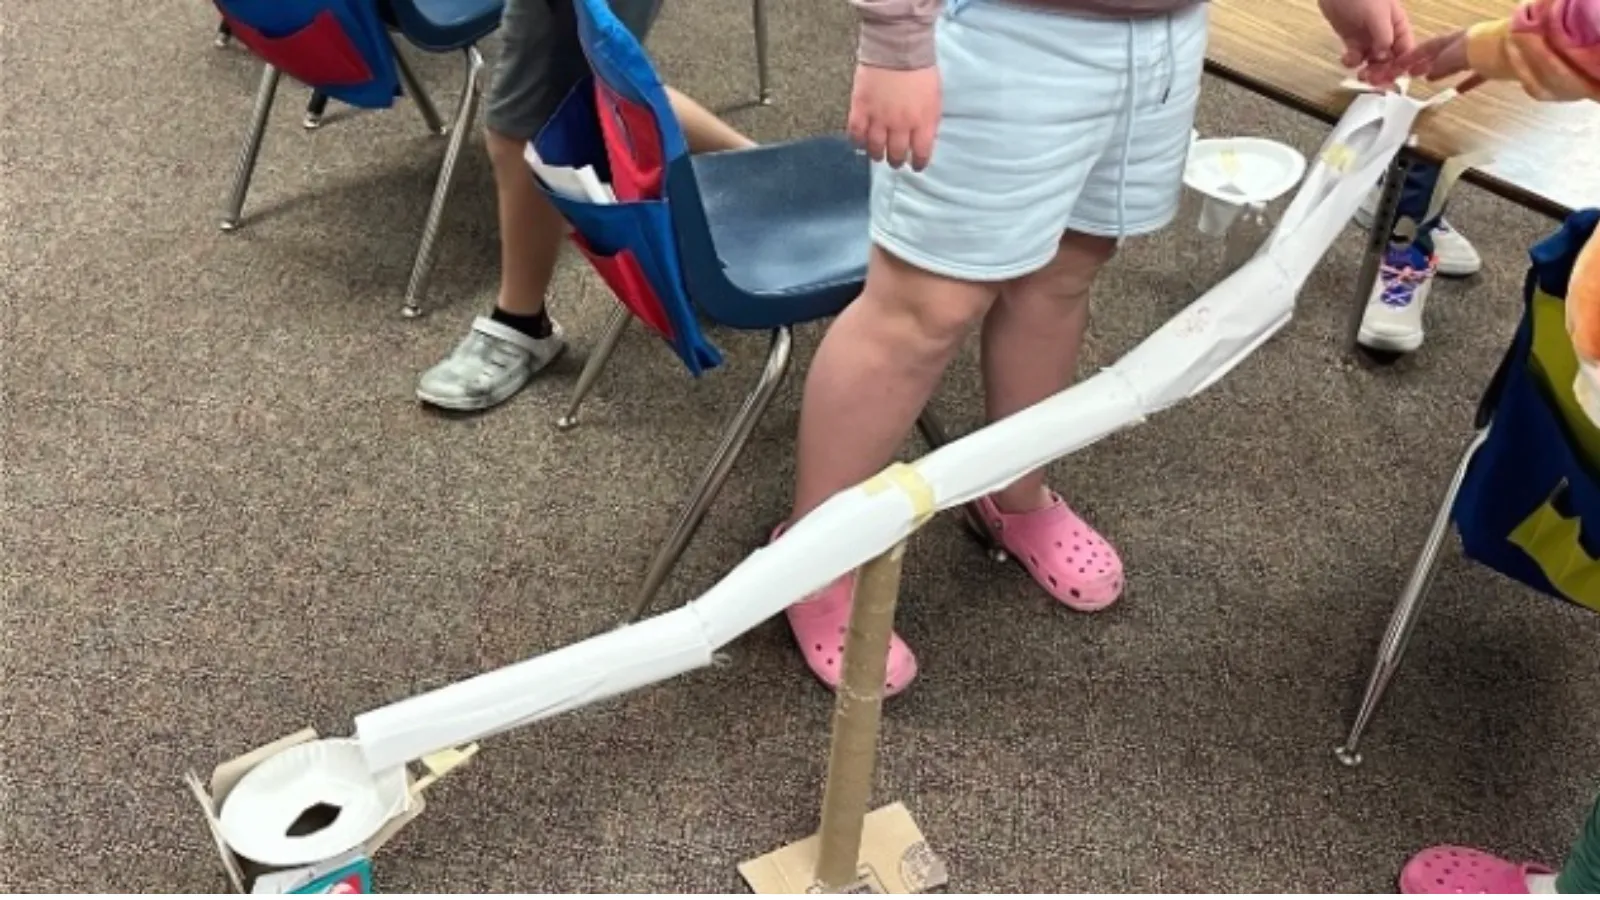
Build days (about 2 periods): paper-towel-roll support beams, rolled-paper track. The loops are always the tricky part with paper — most groups manage one. Support beams go up while the Qweebi stages are still in progress, so the two run side by side.
The part I didn’t expect: during build days, students kept going back to Qweebi on their own. A group would hit a problem — “why won’t it make it over this hill?” — and I’d say, go test it out on your Qweebi build. Go see how that works. When you have ten groups building at once and one of you, having a physics sandbox every group can consult is huge.
The 1% decline kid
Every class got obsessed with the leaderboard — who could stretch their track the furthest, whose ride lasted the longest. One of my students, crazy smart, discovered that if he built a section with about a 1% decline, the car would inch along slowly and he could make his ride last a full minute. Watching a room full of kids patiently tuning a slope by tiny increments — and then sitting there grinning through a sixty-second ride — was the funniest thing I saw all year. It’s also more persistence than I can usually get out of them with anything else.
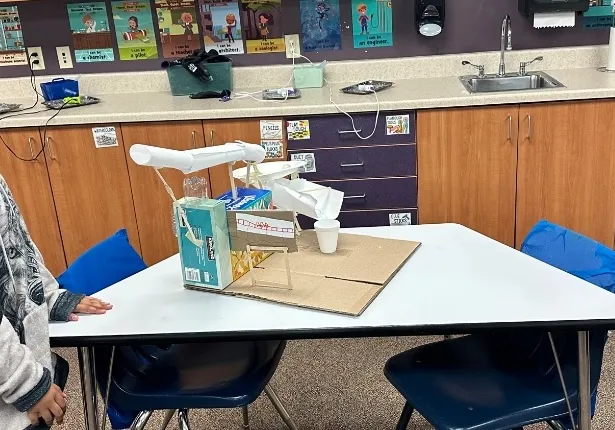 After the virtual design: paper-towel-roll beams and rolled-paper track.
How I assess it
The physical build is the final assessment — if they understood the science, the build works. Each group records a short video presenting their coaster: what they built, why they built it that way, and how it works.
It wasn’t just the roller coaster
Once I saw the pattern, I used a virtual project as the on-ramp wherever one matched my curriculum — the Mars Rover project before my third graders’ balloon-powered cars, Rube Goldberg for my high-ability group’s competition builds. The difference was obvious: projects with a virtual introduction ran smooth; projects without one took weeks longer.
An honest note about space
I’ll say this because I see the question constantly in teacher Facebook groups: I could store twelve desk-sized paper roller coasters mid-build because I taught at a very small school with lots of shelves. That is not realistic for most schools. If you’re at a big school and physical builds aren’t an option — no storage, no budget, fifty students per grade — the online makerspace isn’t the warm-up, it’s the whole project. And it still teaches the science that made my physical builds work.
If you’re hesitating
My prep the first time was basically nothing: I downloaded the slides, read through them once, went “yep, yep, okay,” and assigned it. The one thing I’d tell you is to tinker with it yourself first — stretch the track pieces, pull the sides, mess with it until you find the tricks. It’s easier the second time, like anything. But the first time is already easy.
What you need
-
Any Chromebooks, Windows, or Mac computers — everything runs in the browser
-
A free Qweebi account (the Roller Coaster project can be one of your 2 free projects)
-
2–3 class periods for the virtual build — plus your physical build if you run one
-
Optional: paper towel rolls and paper, if you want the two-part version my classes do
Ready to try the Roller Coaster Project in your class?
Students design, build, test, and improve in Qweebi, with minimal prep and no supplies.
Related articles
View all blog posts