How I Run the Rube Goldberg Project with My 3rd, 4th, and 5th Graders — With Zero Supplies
A STEAM teacher shares how she runs a virtual Rube Goldberg machine project across grades 3–5 — zero supplies, 2–3 class periods, then real marble runs.
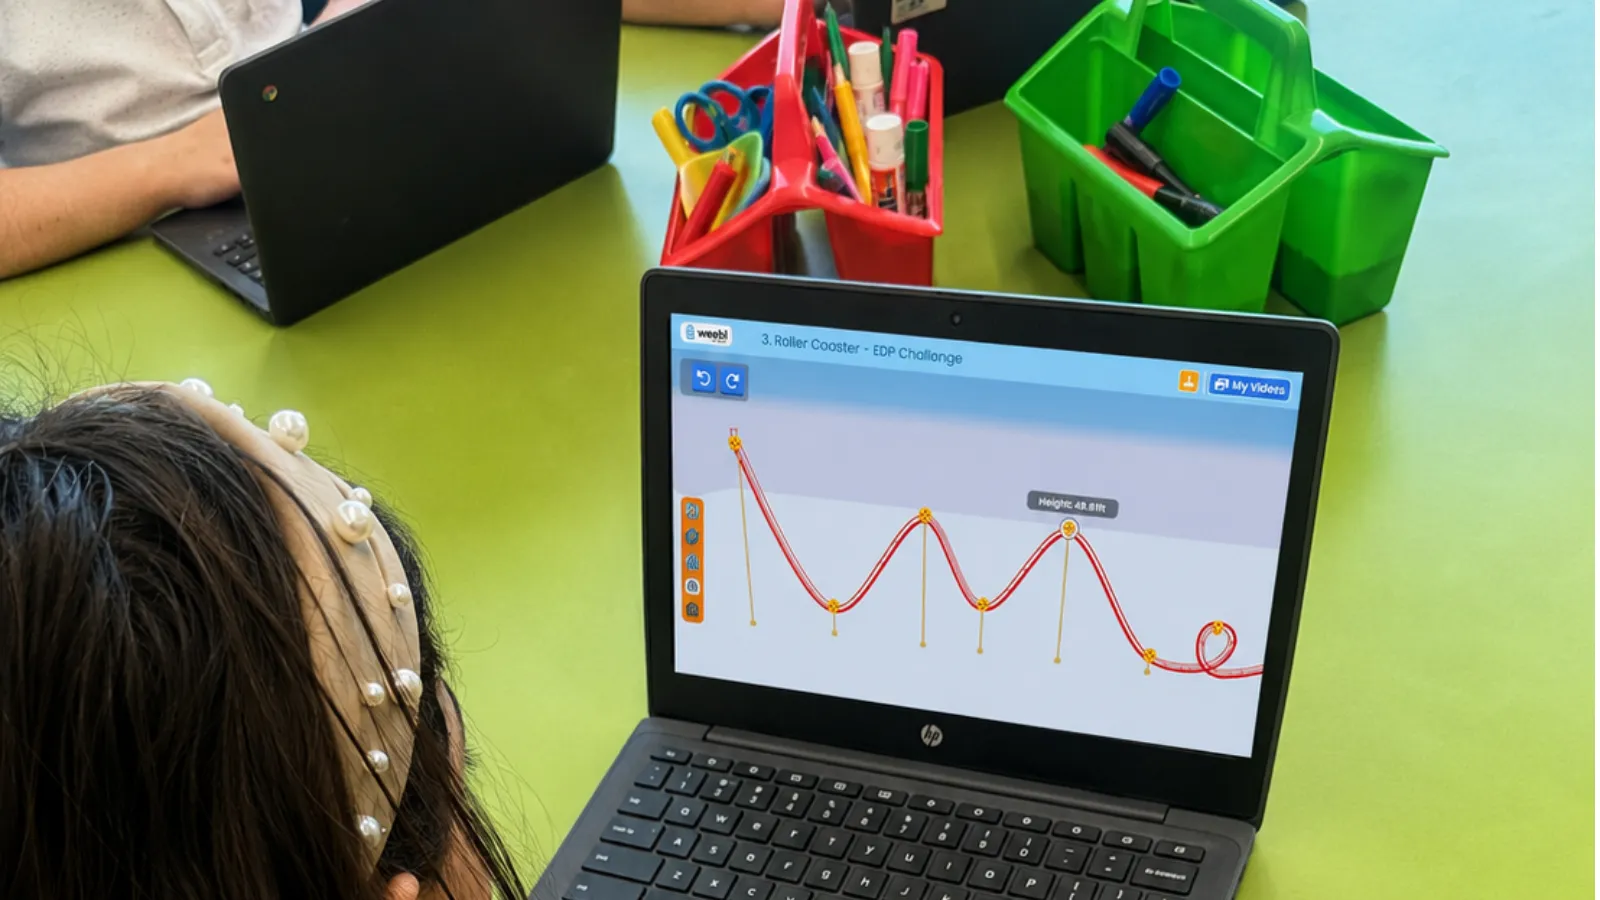
A few years ago I bought a carload of foam pipe insulation from a home-improvement store — the stuff that looks like pool noodles — so my students could build physical roller coasters. It took enormous time to prepare, I had nowhere to store sixty half-built coasters, and a lot of them didn’t work because the kids couldn’t tape the pieces together properly. The students still had fun. But I remember standing in that classroom thinking: I don’t think I’ll do this again.
The problem was, I loved what the project was supposed to teach. The students all liked the idea of learning about roller coasters, but the cost, time, storage, and cleanup wasn’t sustainable. That’s what sent me looking for another way — and it’s how a virtual makerspace called Qweebi ended up becoming a fixture in my STEAM room.
My classroom, for context
This is my sixth year running the STEAM program at my school — a program I had the opportunity to help create from scratch. I see about 550 students from kindergarten through 5th grade, in 45-minute rotations, each class every four days. And here’s the thing: my background is not STEM at all. I’m an elementary educator who spent years in early childhood education, helped start a preschool in rural Kenya, and came to all of this through one conviction — kids learn by doing. If you’re a teacher worried you need an engineering degree to run projects like these, I’m your counter-example.
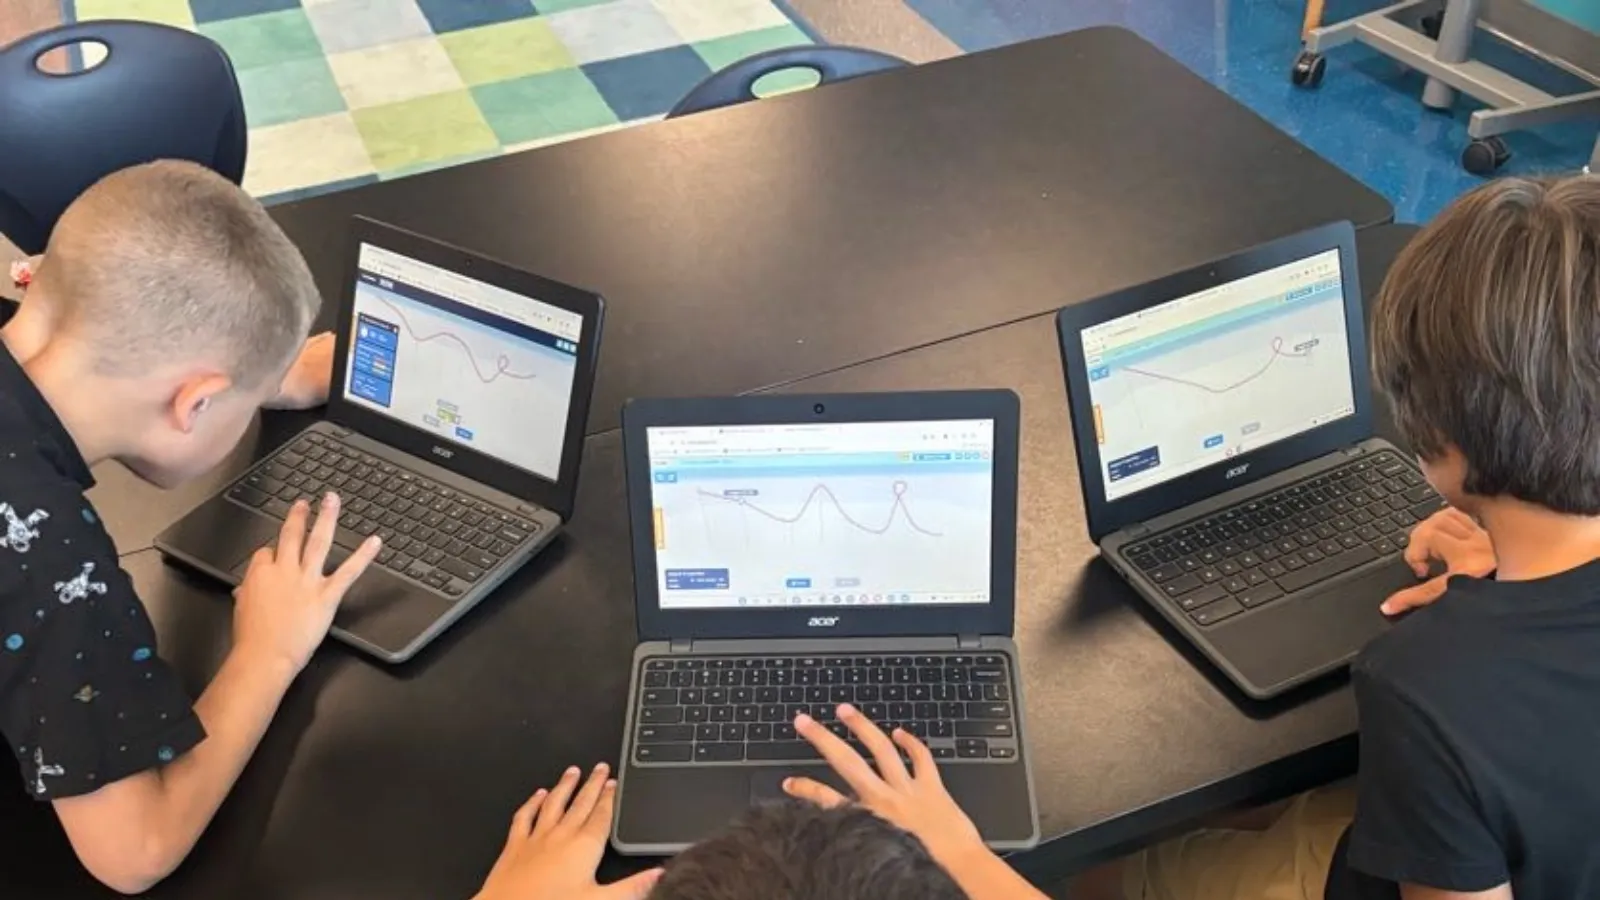
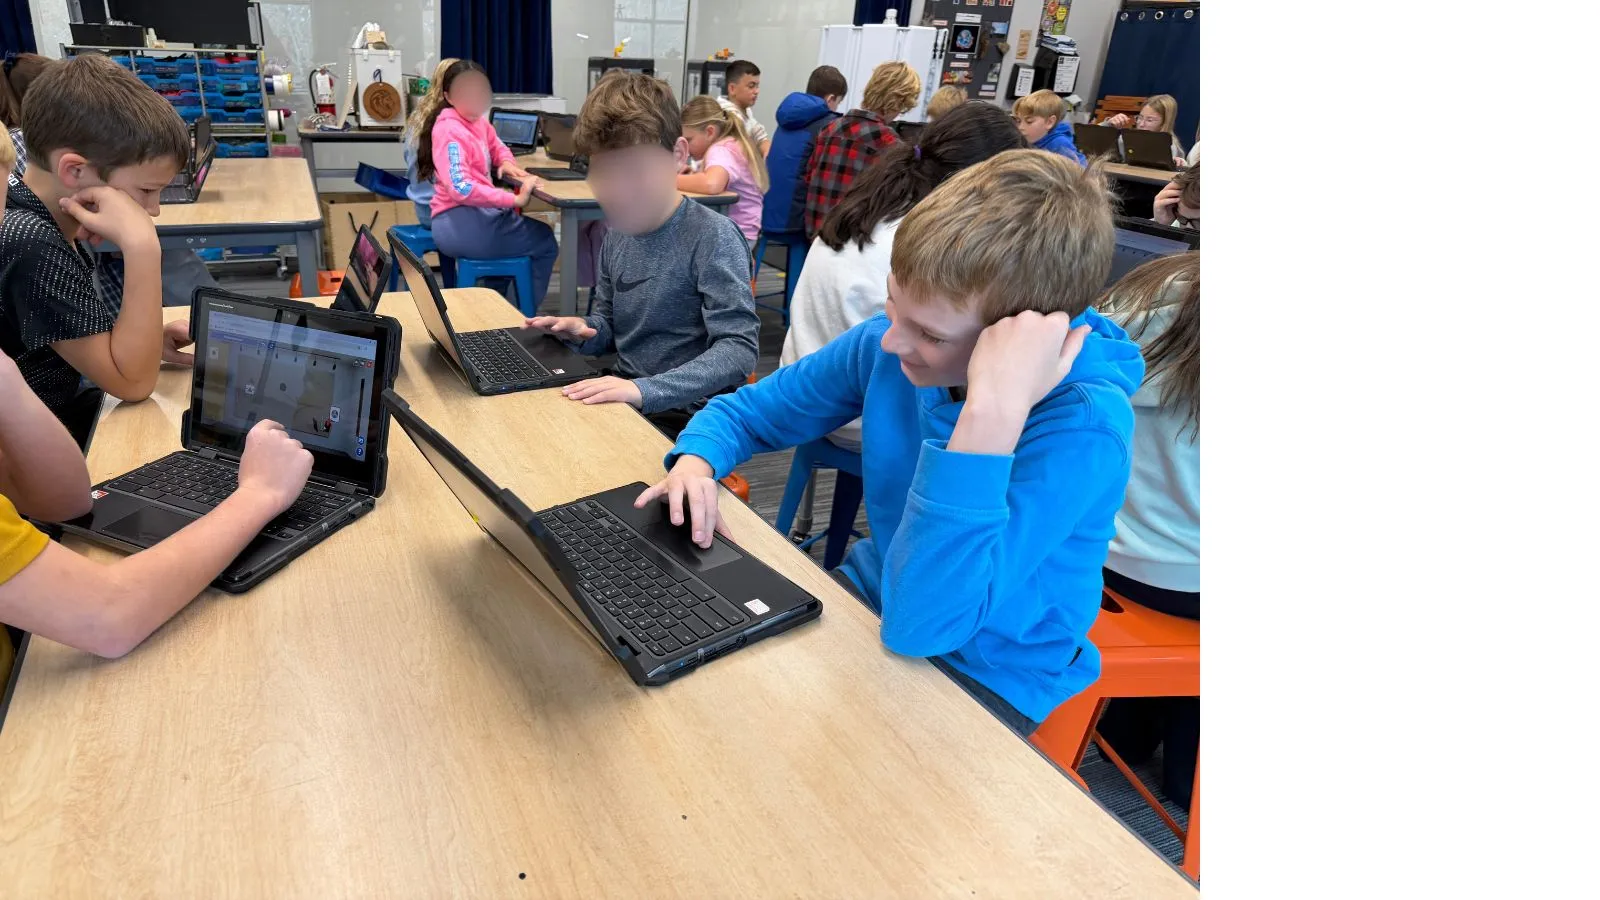 Third, fourth, and fifth graders build in Qweebi on the Chromebooks they already have.
Why the Rube Goldberg project is my favorite
Students learn about simple machines in their science classroom — in theory. A lever, a pulley, an inclined plane from a book. What they don’t get is the moment where the machine actually does something. In Qweebi’s Rube Goldberg project, students build chain-reaction contraptions on a virtual pegboard, using all six simple machines to accomplish a task. When my students met the corkscrew, half of them laughed: ‘Why would THAT be a machine?’ Then they used one, and understood.
But here’s the part that surprised me most. I don’t treat the virtual project as a replacement for hands-on building — I use it as the setup. For two to three weeks, my students work through the Rube Goldberg challenges in Qweebi. Then we get out the wooden blocks and ramps and build real chain reactions and marble runs on the floor. In past years, kids just built and learned by doing. Now they arrive at the floor build already understanding chain reactions and simple machines — and the depth is completely different. The virtual and the physical tie together so well that I’d never go back to doing just one.
How I run it, grade by grade
One project, three different uses:
-
3rd grade gets just the simple-machine challenges — two class periods of exploring levers, wheels, and inclined planes. I deliberately don’t let them do the final build. They ask, ‘What’s a Rube Goldberg?’ and I tell them: you’ll find out next year. (By the time they’re 4th graders, they can’t wait.)
-
4th grade does the full project across three periods. Day one: we cover the first concepts with the teacher slides, then they dive into the first two challenges — and only those two, because I lock the rest. Day two: more challenges, and we watch a few strong show-and-tell videos together. Day three: they build their final Rube Goldberg machines, submit their videos, and we pull up the leaderboard and their statistics as a class.
-
5th grade moves faster — about two periods. I encourage the students to help each other; ask everyone at your table before you ask me. Watching a student who just figured out the pulley lean over and teach it to three classmates is worth more than anything I could say from the front of the room.
The moment that sold me
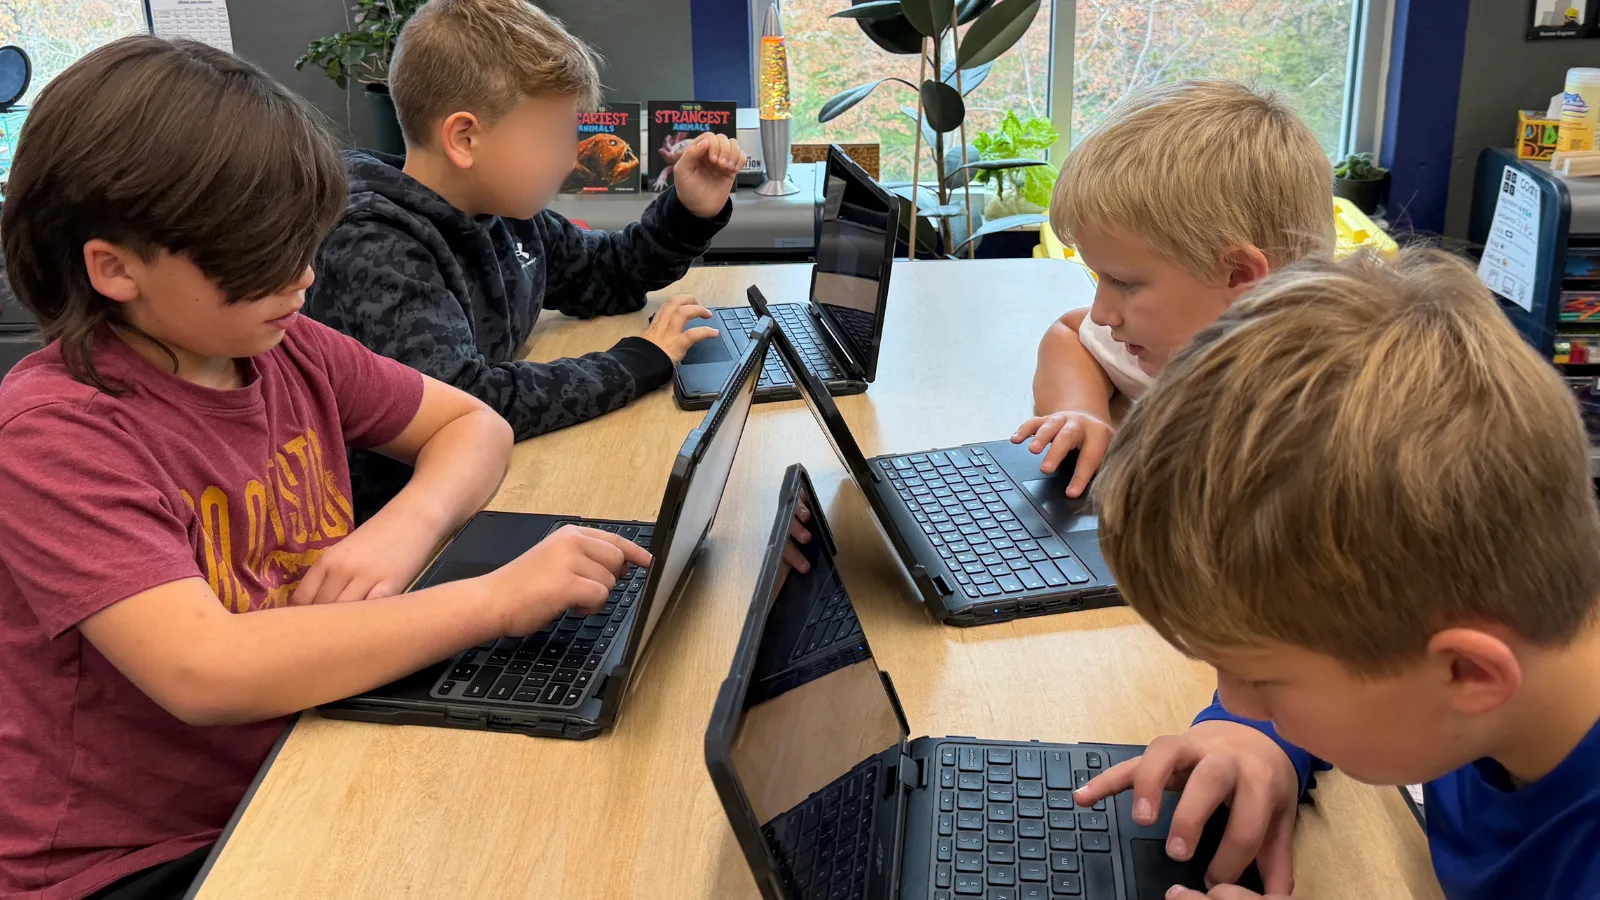
It wasn’t a test score. It was walking around the room and listening. Students were saying things to each other like ‘you have to move the inclined plane to get the remote-control car to hit the bowling ball’ — correct terminology, used correctly, in the middle of an argument about a machine they cared about. Nobody was reciting a definition for me. They were discovering what the words meant because they needed them. Hearing those conversations is what sold me on this.
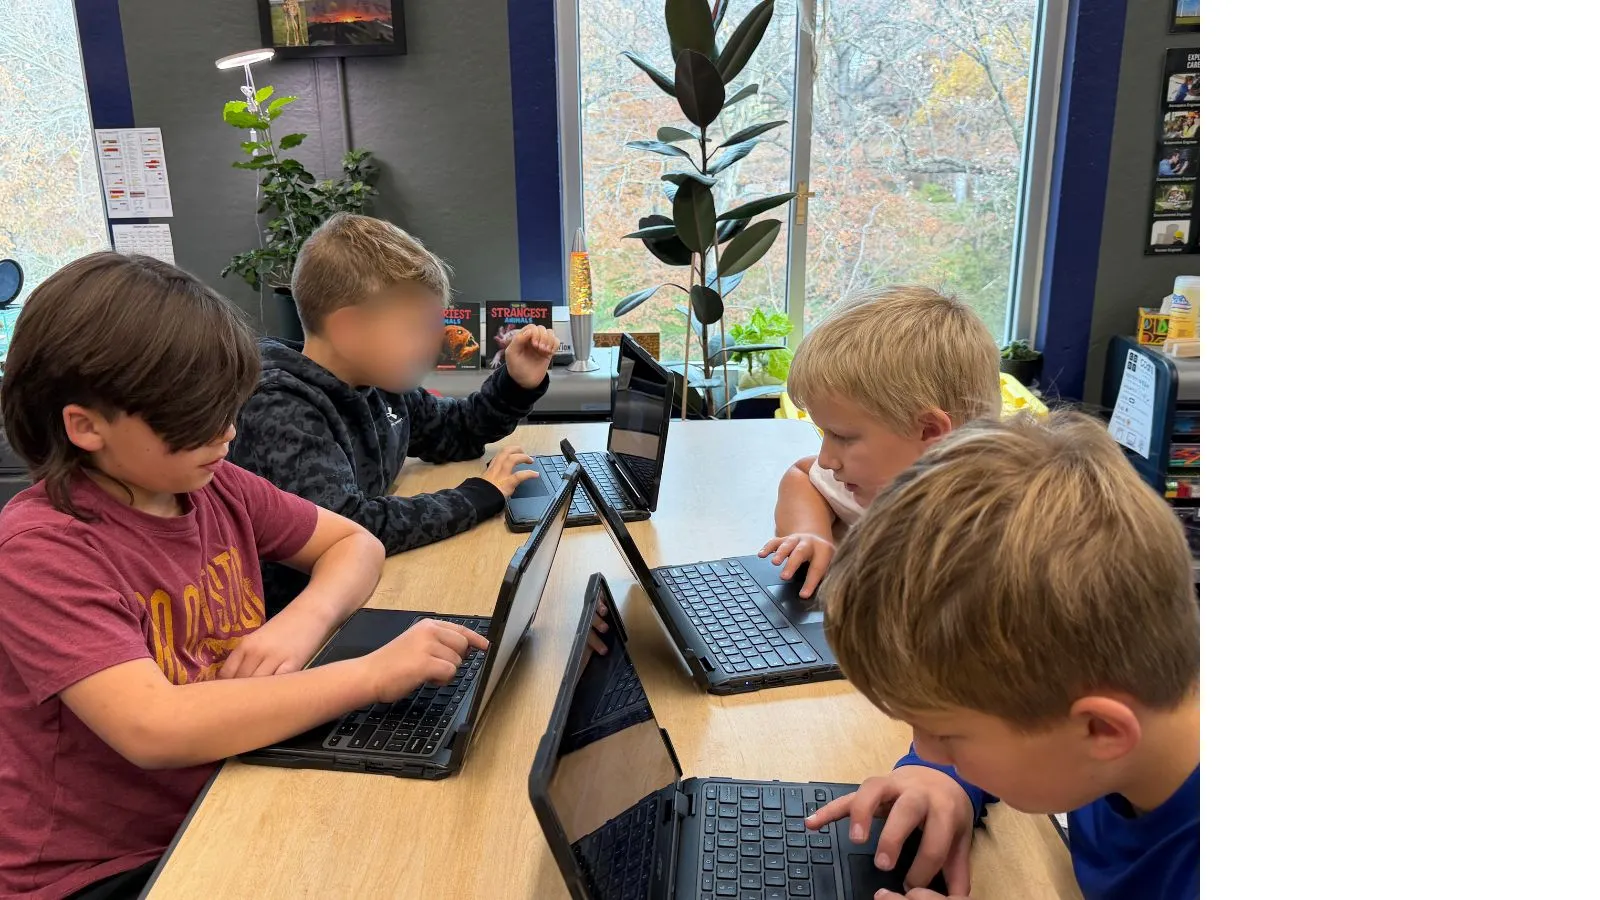 Table groups compare machines as they build — the room gets loud in the best way.
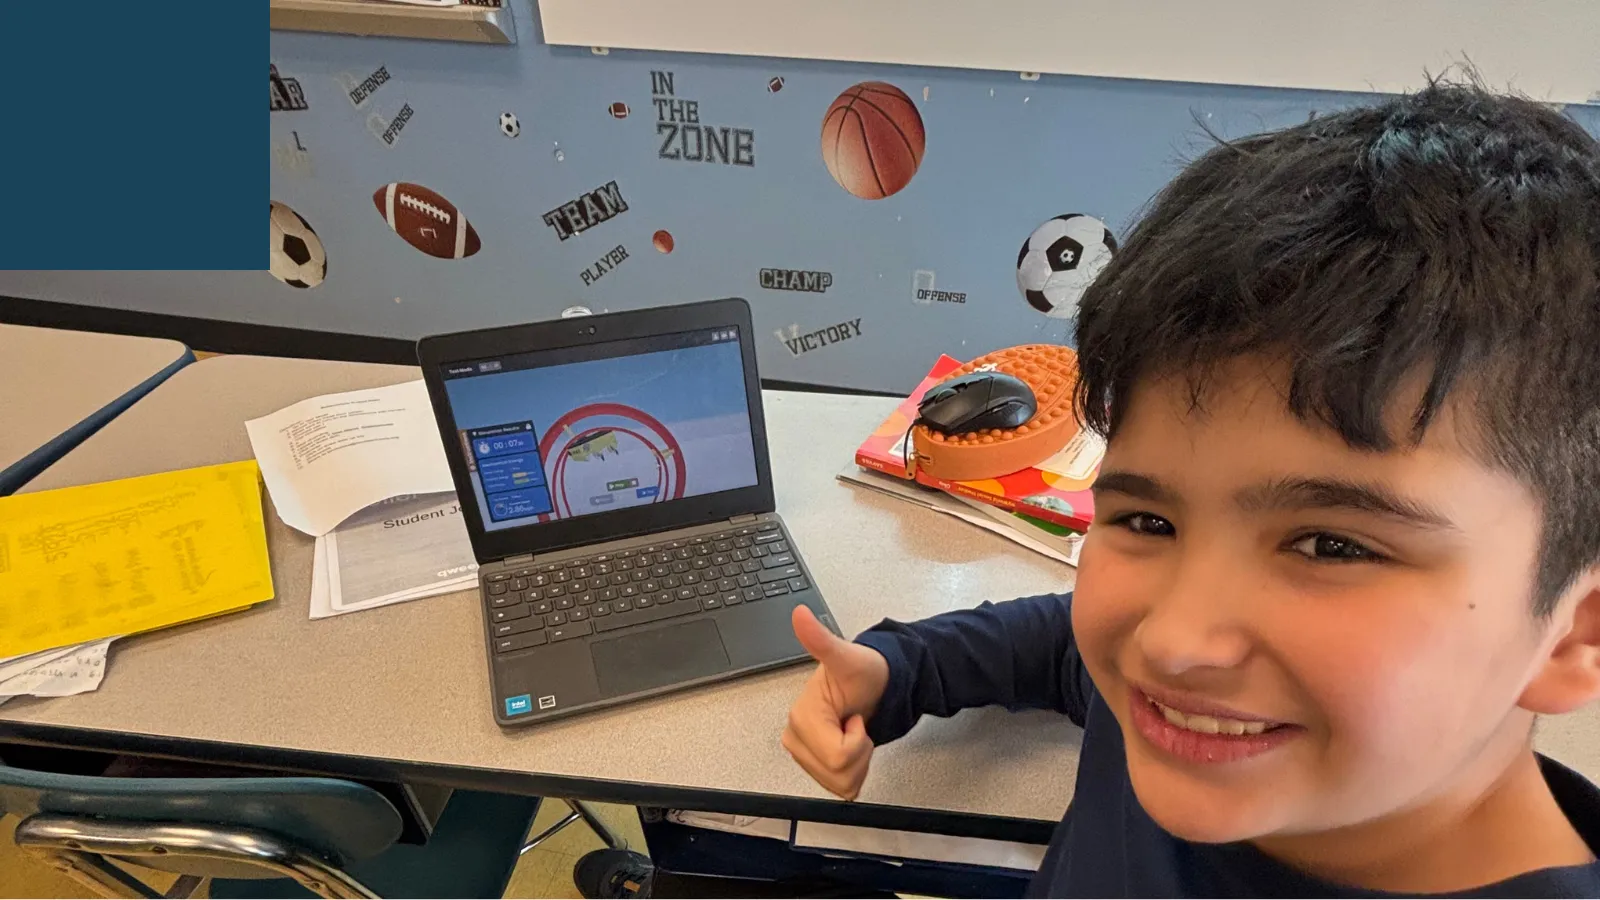
And then there’s the problem I never expected to have: getting them to stop. I have to use our school’s screen-management tool to lock computers at cleanup time, because they don’t want to stop mid-build. Some students went home and finished the entire project overnight — technically not what they were supposed to do, but when a 10-year-old gets in trouble for doing too much engineering, I count that as a win. (Qweebi later added the option to lock challenges, which — as the teacher — I appreciate more than the kids do.)
Show-and-tell videos, and how I actually assess
At the end, each student records a short video explaining their machine. My rule: keep it under 15 seconds, which forces them to explain instead of perform. I don’t watch every video — I’ve been circulating the whole time, so I already know who’s on task. What I do instead is grade a few videos together with the class using the built-in rubric: did they do this? Did they meet that? The class votes, and suddenly the next day’s videos are better, because everyone knows the criteria. And the moment students hear ‘this is for a grade,’ the whole thing stops being a game and becomes serious work — while still feeling like play.
If you’re thinking about trying it
My honest prep confession: reading through the teacher slides takes me about five minutes the night before. The only real planning is deciding where the stopping points are for your schedule.
And my advice is the same thing I tell my students: just give it a try, one lesson at a time. Do the project yourself the night before if you’re nervous. Or don’t — I told my classes, ‘I’ve never done this before, so we’re learning together. Tell me what you like and what you don’t.’ Watching them figure it out is the best way to learn it yourself. It can feel intimidating to start something you haven’t fully mastered. Start anyway and learn along the way.
What you need
-
Any Chromebooks, Windows, or Mac computers — everything runs in the browser
-
A free Qweebi account (the Rube Goldberg project can be one of your 2 free projects)
-
2–3 class periods, adaptable by grade level
-
No supplies, no storage, no cleanup — the part that got me here in the first place
Ready to try the Rube Goldberg Project in your class?
Students design, build, test, and improve in Qweebi, with minimal prep and no supplies.